
Custom Magnetic Pin Workflow for Unique Event Merchandise
Every fundraising event needs that one item supporters reach for again and again. For Israeli nonprofits, creating meaningful magnetic pins rooted in cultural themes transforms simple merchandise into lasting symbols of unity. By focusing on cultural carriers that genuinely connect with your community, you can design promotional magnets that inspire pride, spark conversation, and strengthen ties long after your event ends. Discover how a thoughtful approach in pin concept, design, and production results in truly memorable event merchandise.
Table of Contents
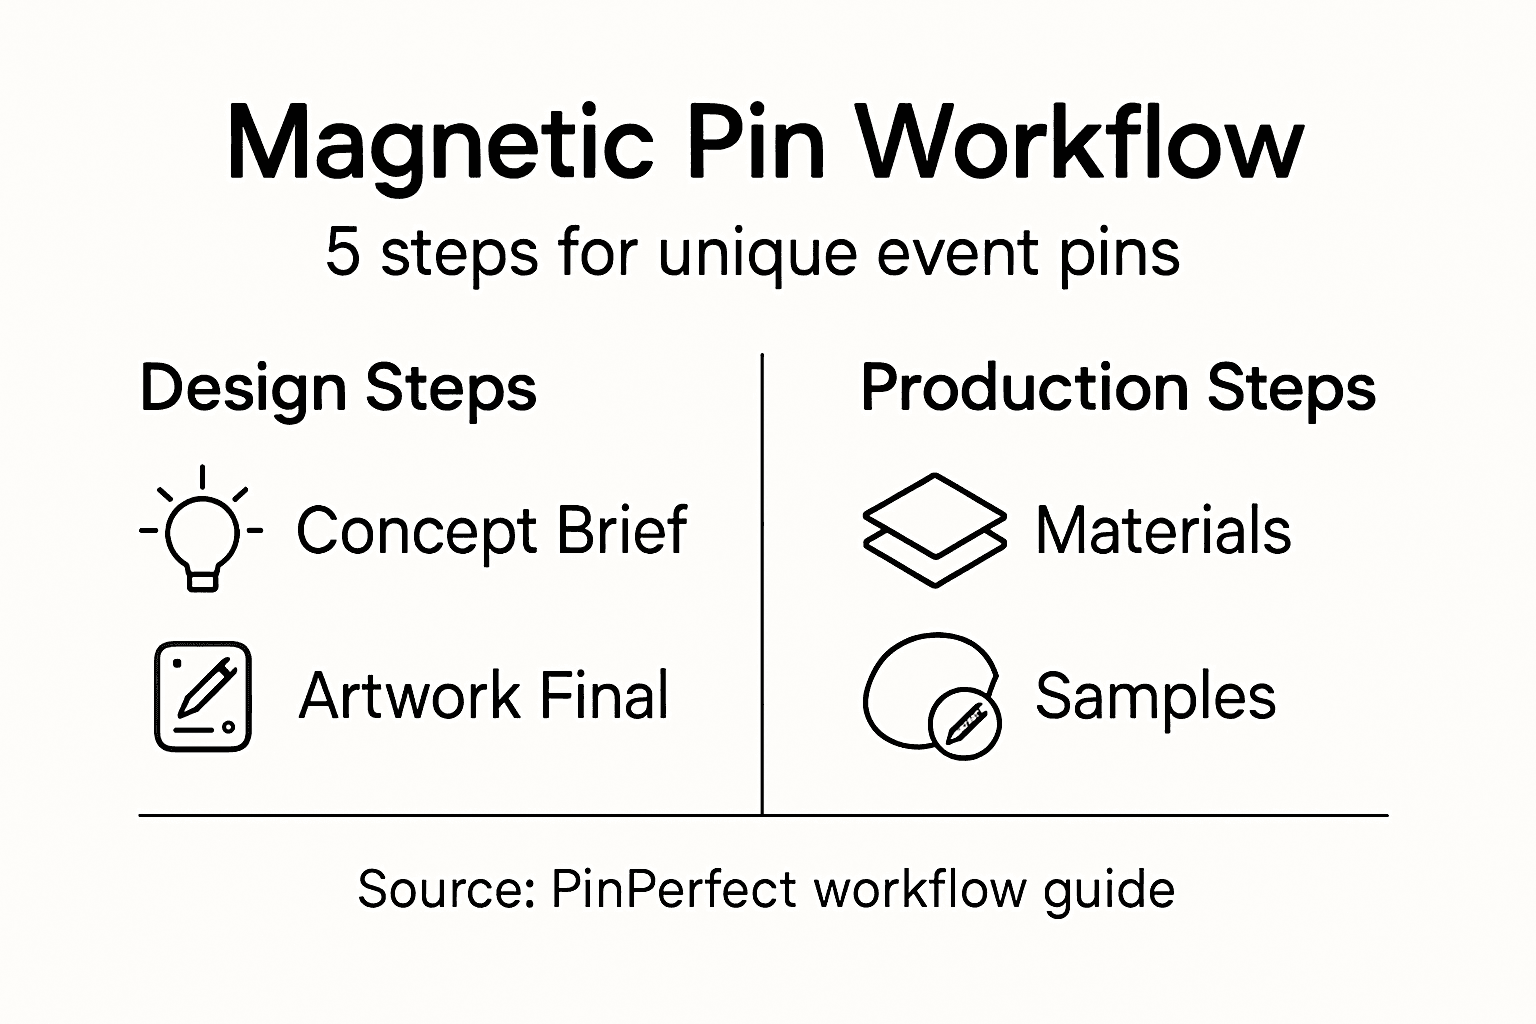
- Step 1: Define Pin Concepts With Cultural Themes
- Step 2: Design And Finalize Magnetic Pin Artwork
- Step 3: Select Materials And Production Options
- Step 4: Review Samples And Approve Final Batch
- Step 5: Package And Ship Custom Magnetic Pins
Quick Summary
| Important Message | Explanation |
|---|---|
| 1. Define Cultural Concepts Clearly | Establish pin concepts rooted in cultural values to ensure they resonate with your audience and fundraising goals. |
| 2. Focus on Simplified Design | Use bold lines, limited colors, and clear shapes to create pin designs that are easily recognizable and manufacturable. |
| 3. Select Durable Materials | Choose magnetic materials that balance strength, durability, and cost to ensure pins meet your nonprofit’s event needs. |
| 4. Conduct Thorough Sample Review | Carefully evaluate sample pins against specifications to catch any manufacturing issues before full production begins. |
| 5. Invest in Thoughtful Packaging | Proper packaging and branding enhance the presentation of pins, turning merchandise into meaningful gifts for supporters. |
Step 1: Define pin concepts with cultural themes
Your magnetic pin design starts with a clear concept rooted in cultural meaning. This step transforms abstract cultural values into concrete design directions that resonate with your nonprofit’s community and fundraising goals.
Begin by identifying the cultural carriers you want to highlight. These are the symbols, traditions, or values that matter most to your audience. For Israeli nonprofits, this might include historical references, religious symbolism, community values, or contemporary cultural movements. Think about what your supporters recognize and feel connected to.
Next, determine which specific cultural elements will become your design focal points. Cultural product design methods help you translate abstract meanings into visual language. Ask yourself these questions:
- What story does this pin need to tell?
- Which cultural symbol or value represents your fundraising mission?
- How will donors recognize the connection to your cause?
- What emotional response should the pin trigger?
Create a simple concept statement for each pin design. For example: “This pin celebrates Israeli resilience through a minimalist design combining the olive branch and the community unity symbol.” Your statement should connect culture, mission, and visual direction.
Use systematic thematic analysis to ensure your cultural concepts are thoroughly defined. This means exploring the deeper meaning behind each element and confirming it aligns with both authentic cultural representation and your organization’s values. Document these meanings so your design team can create pins that feel genuinely connected to the culture, not superficial.
Clear cultural concepts create pins that supporters want to wear and share, turning event merchandise into meaningful advocacy tools.
Consider how multiple pin designs can work together as a cohesive series. Perhaps one pin represents your organization’s history, another celebrates a specific community achievement, and a third honors a cultural tradition. This variety gives attendees choices while maintaining a unified visual identity for your event.
Pro tip: Create a cultural brief document that includes your pin concepts, the cultural meanings behind them, and how each design connects to your fundraising goals—this reference helps your design team stay aligned and prevents revisions that dilute the cultural authenticity.
Step 2: Design and finalize magnetic pin artwork
Now that your cultural concept is defined, it’s time to transform that vision into actual artwork. This step takes your pin concept from paper to digital reality, ensuring every detail works for manufacturing and visual impact at your event.
Start by creating a digital sketch of your design using design software like Adobe Illustrator or free alternatives such as Inkscape. Your sketch should reflect the cultural elements you identified, translating them into clean, recognizable shapes. The goal is clarity over complexity—event attendees should understand your pin’s meaning at a glance.
When designing for magnetic pins, simplifying intricate details for manufacturing becomes essential. Complex artwork with thin lines, tiny text, or overlapping colors can be difficult to reproduce accurately on magnetic backing. Consider these design priorities:
- Use bold lines and defined shapes that read clearly
- Limit your color palette to 3-5 colors maximum
- Avoid thin details smaller than 2 millimeters
- Test readability by viewing your design at actual pin size
- Ensure text is large and easily legible from several inches away
Refine your digital artwork by adjusting colors, proportions, and spacing. Your design file should represent exactly what the final pin will look like. Pay attention to how cultural symbols interact with your color choices—colors can carry cultural significance too.
Verify that your artwork meets technical specifications for magnetic pin production. Work with PinPerfect’s design team to confirm file format, resolution, and color mode requirements. This verification step prevents costly revisions once production begins.
Simplified, bold designs don’t diminish cultural meaning—they strengthen it by making your message instantly recognizable and shareable.
Once your design is finalized, create multiple size mockups to see how the pin appears at different scales. Your nonprofit’s supporters might wear these pins on lanyards, bags, or clothing, so visibility matters in various contexts.
Pro tip: Export your artwork in multiple formats and request a physical sample pin from your manufacturer before committing to full production—this small investment catches design issues early and ensures the final product matches your cultural vision exactly.
Step 3: Select materials and production options
Choosing the right materials and production method directly impacts your magnetic pins’ durability, appearance, and cost. This step ensures your event merchandise can withstand regular use while maintaining the cultural integrity of your designs.
Understand the magnetic material options available for your pins. Soft magnetic materials offer different properties that affect strength, durability, and manufacturing capabilities. Common choices include neodymium magnets for powerful holding strength or ferrite magnets for budget-friendly options that still perform reliably.
Here’s a quick comparison of common magnetic materials used for nonprofit event pins:
| Material Type | Magnetic Strength | Durability Level | Typical Use Case |
|---|---|---|---|
| Neodymium Magnet | Very high holding power | Excellent longevity | Premium or large events |
| Ferrite Magnet | Moderate holding strength | Good weather resistance | Budget-focused giveaways |
| Flexible Magnetic | Low to moderate strength | Bendable, lightweight | Casual or children’s events |
Consider these material factors as they directly influence your decision:
- Magnetic strength needed for your intended use
- Environmental exposure your pins will face
- Budget constraints for your nonprofit event
- Longevity expectations from supporters
- Compatibility with your pin backing design
Evaluate production methods that match your nonprofit’s timeline and budget. Customization in magnetic manufacturing allows you to balance performance and cost-efficiency. PinPerfect offers various production approaches, from small-batch runs for intimate events to larger productions for major fundraisers.
Small-batch production works well if you’re testing designs or have limited quantities needed. This approach allows flexibility in material choices and faster turnaround times. Larger production runs typically reduce per-unit costs, making them ideal for events where you’ll distribute hundreds of pins to donors.
Review these production methods to match your event goals:
| Production Method | Unit Cost per Pin | Best For | Turnaround Speed |
|---|---|---|---|
| Small-Batch | Higher | Test runs, exclusives | Quick (1-2 weeks) |
| Large-Scale | Lower | Major donor campaigns | Moderate (2-4 weeks) |
Discuss backing options with your manufacturer. Magnetic backing materials vary in thickness, adhesive strength, and finish. Some nonprofits prefer strong permanent magnets, while others prioritize comfort for supporters wearing pins for extended periods.
The right material selection transforms your cultural designs into durable symbols that supporters will proudly display for years.
Request samples of different material and backing combinations before finalizing your order. Testing these options helps you confirm quality and performance align with your fundraising goals and supporter expectations.
Pro tip: Order sample pins with different magnetic strengths and backing materials to test how they perform in real conditions—this hands-on approach reveals which combination your supporters will actually prefer, saving you from costly production mistakes.
Step 4: Review samples and approve final batch
Before your pins go into full production, you’ll receive sample units to evaluate quality, accuracy, and cultural authenticity. This critical step prevents costly errors and ensures your event merchandise meets expectations.
Examine your sample pins carefully against your original design specifications. Check that colors match your artwork, magnetic strength feels appropriate, and the backing is secure. Look for any manufacturing imperfections such as rough edges, misaligned details, or color bleeding that could diminish the cultural symbolism of your pins.
Evaluate these specific aspects during your sample review:
- Color accuracy compared to your approved artwork
- Magnetic strength and backing adhesion reliability
- Overall finish quality and surface smoothness
- Cultural symbol clarity and design recognition
- Text legibility if your design includes messaging
- Pin size and weight feel appropriate for wearers
Test the magnetic backing in realistic conditions. Attach your sample pins to metal surfaces like filing cabinets, refrigerators, or office nameplate holders. They should hold securely without slipping but remove cleanly without damaging surfaces. This hands-on testing reveals whether your material selection truly meets your supporters’ needs.
Compare multiple sample pins from the same batch to ensure consistency. Manufacturing should produce uniform results across all units. If you notice variations, discuss these with your manufacturer before full production begins.
Quality samples catch problems early when they’re inexpensive to fix, not after thousands of pins have been manufactured.
Request written approval documentation from your nonprofit’s leadership or event committee. Having formal sign-off on samples protects everyone and confirms the final batch matches what stakeholders envisioned. This documentation also serves as your reference point if any production issues arise.
Once you’ve approved samples, provide detailed written feedback to your manufacturer. Specify exactly what you approve and any minor adjustments needed for the full production run. Clear communication prevents misunderstandings that could result in a final batch that disappoints.
Pro tip: Take high-quality photographs of your approved sample pins from multiple angles and in different lighting conditions, then share these images with your manufacturer as your official approval reference—this visual documentation eliminates confusion about what quality standard the full batch must meet.
Step 5: Package and ship custom magnetic pins
Proper packaging protects your magnetic pins during transit while ensuring they arrive at your event in perfect condition. This step requires attention to both safety regulations and presentation, turning shipping into part of your event experience.
Start by understanding magnetic shipping requirements. Magnetic products need special handling to prevent interference with navigation systems and electronic equipment. Magnetic shielding with iron sheets protects transit safety while maintaining your pins’ functionality and appearance throughout their journey.
Prepare your pins for shipping using these protective strategies:
- Use internal cushioning materials like foam or bubble wrap around pins
- Apply magnetic shielding layers to separate pins from sensitive electronics
- Place pins in sturdy inner boxes before adding outer packaging
- Add desiccant packets if shipping to humid climates
- Label packages clearly with “Magnetic Material” warnings
- Choose shipping methods that minimize handling and transit time
Select packaging that reflects your nonprofit’s brand identity. Your pins arrive as gifts to supporters, so first impressions matter. Consider custom-printed boxes featuring your organization’s logo or the cultural themes your pins celebrate. This elevates the unboxing experience and reinforces your fundraising message.
Work with your manufacturer on international shipping if your supporters span multiple countries. PinPerfect handles worldwide delivery, including compliant packaging for various destination regulations. Confirm shipping costs and timelines early so you can plan your event logistics accurately.
Track your shipment from manufacturer to your venue. Obtain tracking numbers and insurance coverage for high-value orders. This documentation protects your investment and allows you to communicate arrival status with your event committee.
Thoughtful packaging transforms pins from merchandise into meaningful gifts that supporters treasure long after your event ends.
Plan arrival timing carefully. Your pins should arrive at least one week before your event to allow time for inventory checks and any last-minute adjustments to your distribution plan.
Pro tip: Request that your manufacturer ship to your venue address rather than your office if possible—this reduces your handling logistics and ensures pins arrive in perfect condition exactly where you need them for event day.
Bring Your Custom Magnetic Pin Vision to Life with PinPerfect
Designing unique event merchandise that truly captures your nonprofit’s cultural themes and fundraising mission can feel challenging. From defining authentic cultural concepts to selecting the perfect materials and reviewing production samples, every step demands precision and creativity. PinPerfect understands these critical needs and offers expert support in crafting meaningful, high-quality magnetic pins that resonate with your supporters.
Explore our Entire Catalogue featuring premium designs that honor heritage and connect emotionally. Whether you want to collaborate with our in-house design team or create a personalized piece that tells your story, we provide seamless manufacturing, worldwide shipping, and quality you can trust.

Ready to transform your custom magnetic pins from concept to reality for your next event Take the next step today by visiting PinPerfect and discover how our MOST LOVED DESIGNS – PinPerfect can inspire your own authentic fundraising merchandise. Act now to ensure your pins arrive on time and make a lasting impression with every supporter.
Frequently Asked Questions
What is the first step in the Custom Magnetic Pin Workflow?
The first step is to define pin concepts with cultural themes that resonate with your nonprofit’s community. Begin by identifying cultural carriers, such as symbols and values, that your audience connects with, and create a concept statement for each design.
How can I ensure my magnetic pin designs effectively communicate cultural themes?
To ensure your designs effectively communicate cultural themes, consider using systematic thematic analysis to explore the deeper meanings of each element. Document these meanings so your design team can create pins that feel genuinely connected to the culture.
What factors should I consider when selecting materials for magnetic pins?
When selecting materials for magnetic pins, consider the magnetic strength needed, environmental exposure, budget constraints, and expected longevity. Choose a material that aligns with your event goals, whether it’s a premium option for special events or a cost-effective solution for larger giveaways.
How do I review samples before final production of my magnetic pins?
To review samples effectively, carefully examine each pin against your original design specifications for color accuracy, magnetic strength, and clarity of cultural symbols. Test the magnetic backing under realistic conditions and compare multiple samples for consistency before approving the full production run.
What packaging strategies should I use for shipping my custom magnetic pins?
Use protective packaging strategies that include internal cushioning materials and magnetic shielding layers to ensure safe transit. Consider custom-branded packaging to enhance the unboxing experience, reinforcing your fundraising message when supporters receive their pins.